
Guide 1Free2 minutes
Your first cookie cutter in 2 minutes
From a drawing to a print-ready STL, with no account and no download.
- 1
Open the studio on the Cutter tab
The cutter studio is free and runs in your browser. Nothing is installed and your image is not uploaded to be processed.
- 2
Upload your artwork
Drop in an SVG for the cleanest edge, or a PNG/JPG of a black silhouette on a white background. Photos with shading trace badly — simplify them first.
- 3
Set the size
In Scaling, type the width or height in millimetres or inches. The aspect ratio is kept, so one number is enough.
- 4
Check the wall
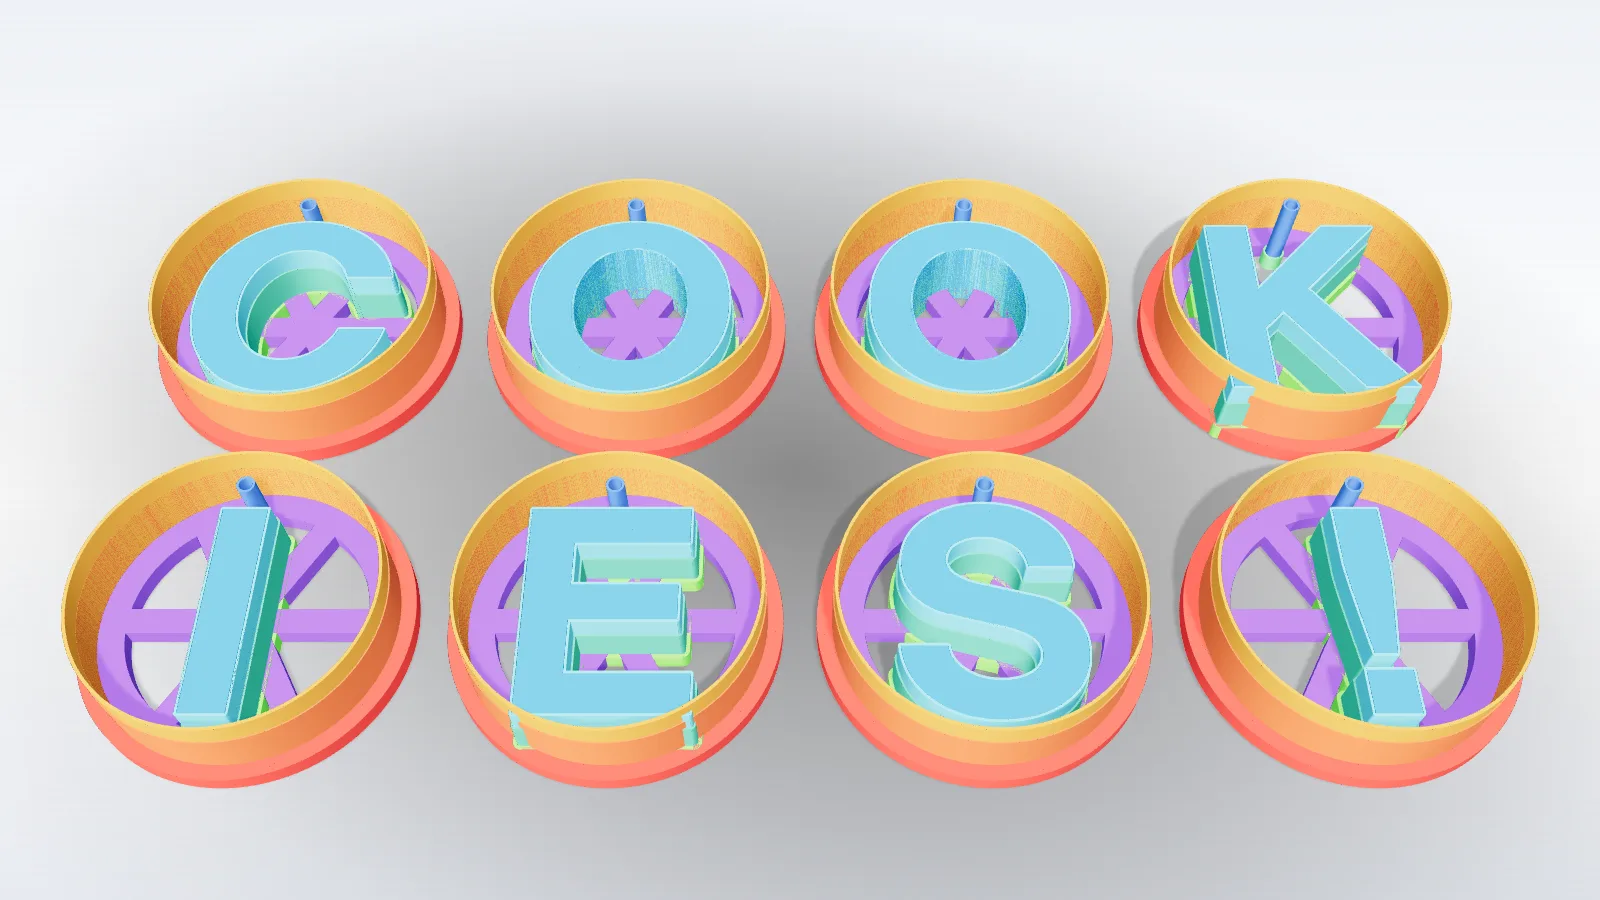
The Outer tab builds the cutter: a wide base, a middle wall and a thin cutting edge. The defaults work for dough; for polymer clay lower the heights to 8–10 mm.

- 5
Download and print
When the print-ready badge is green, download the STL. Print it flat, cutting edge up, at 0.2 mm layers with no supports.